And so it became my overriding goal to figure out just exactly when I'd have the right situation to make 650-calorie cookies that involved yumminess, deliciousness and a whole heaping helping of bacon.
Turns out I had a couple-times-yearly meeting of the cookie minds, where we get together, try new recipes and drink bourbon. Ok, so maybe the bourbon isn't that important, but what better time than this to try out my new recipe?
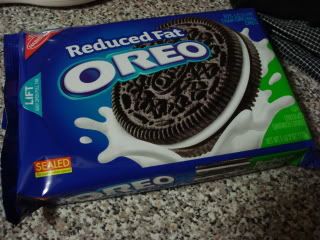
Bacon Chocolate Chip Cookies with Cinnamon Maple Glaze
Ingredients
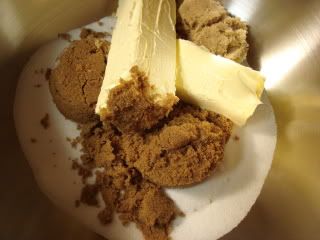
* 3/4 cup butter
* 2/3 cup packed brown sugar
* 2/3 cup granulated sugar
* 1 teaspoon hazelnut extract or almond extract
* 1/2 teaspoon vanilla extract
* 2 eggs
* 2 1/2 cups flour
* 1 teaspoon baking soda
* 1/2 teaspoon salt
* 1 cup white chocolate chips
* 1 cup dark chocolate chips or semi-sweet chocolate chips
* 2 lbs bacon, cooked and crumbled (about 2 cups)
* 1/2 lb bacon, cooked in whole strips
* 2 cups powdered sugar, for the maple glaze
* 1 tablespoon maple extract, for the maple glaze
* 1 teaspoon vanilla extract, for the maple glaze
* 1/2 teaspoon cinnamon, for the maple glaze
Directions
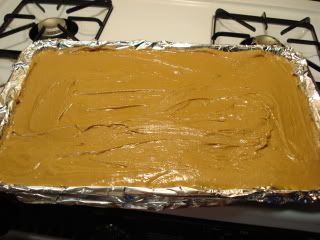
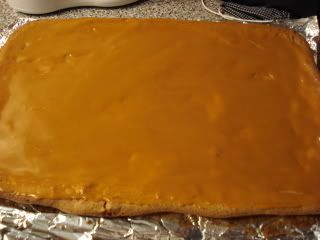
The first thing I noticed about this is that they wanted me to prepare two and a half pounds of really crispy bacon ... and I've never made bacon before. I figure this should be pretty easy, because everyone and their mom knows how to make bacon, but it turned out to be much harder than I expected. That said, if you're going to cook three pounds of bacon
- be prepared to eat a half pound of bacon when putting this together
- make sure there are no holes in the heavy duty foil you use to cook it in a jelly roll pan in the oven
- and make sure you have two hours for this entire process
- oh, and leave the windows open as your apartment/kitchen/house/block is going to smell like a tailgate for the next two days
Step 0.5 - Cook all the bacon.
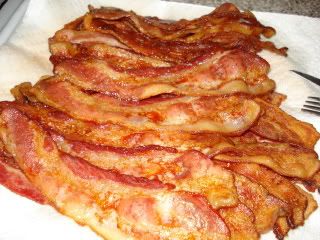
Anyway, once you're done with your bacon put it on a paper-toweled plate so that the paper will soak up some of the grease and leave your bacon a little crispier. I suggest getting salty bacon for this, as it will help maximize the flavor oppositeness of the savory and sweet.
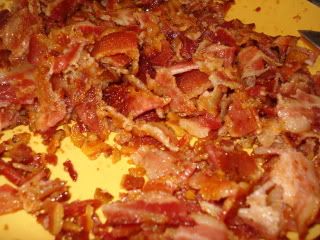
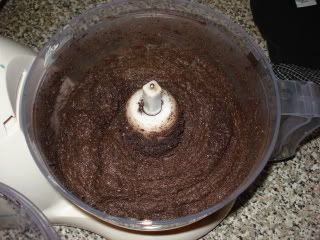
Once you're done making your bacon, you can either food process it (mine probably would have made the pieces a little small) or you can chop it up on a cutting board to get it small enough to put in the cookies. Save 1/2 pound for adding to the top of the cookies, though, so don't chop up all your bacon.
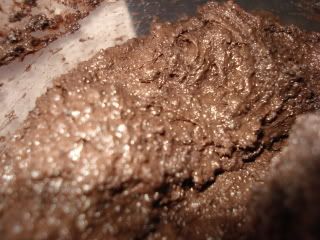
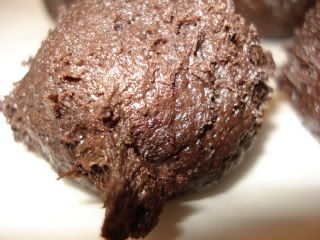
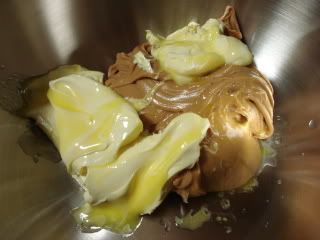
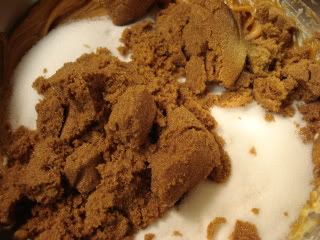
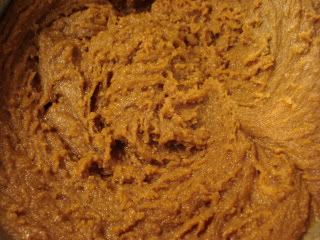
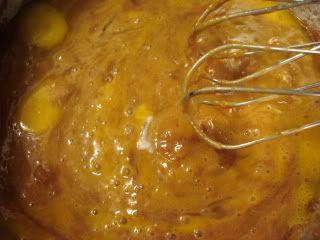
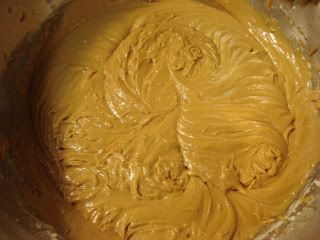
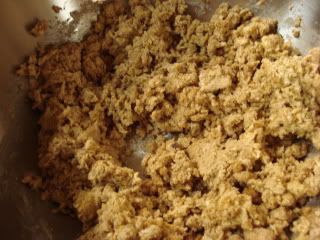
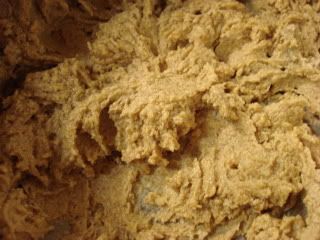
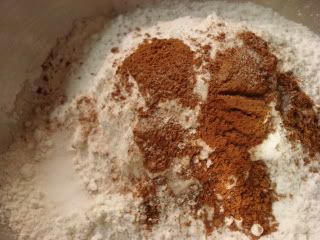
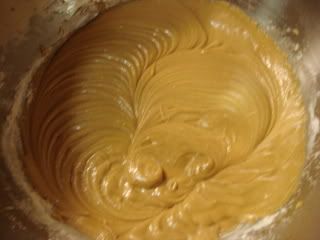
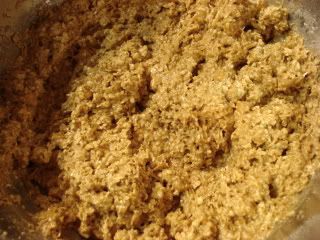
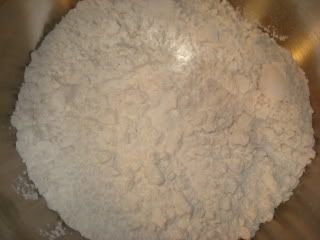
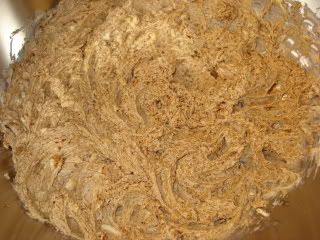
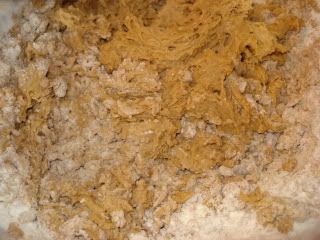
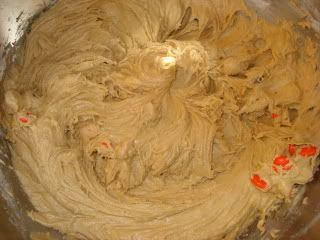
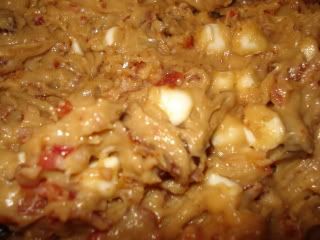
Step 1. In a large bowl, beat together the butter, sugars, extracts and eggs until creamy. In another bowl, sift together the dry ingredients. Add the dry ingredients to the butter mixture and stir together. Dough will be slightly soft. If you want a more cakelike cookie, add another 1/2 cup of flour. Mix in chocolate chips and crumbled bacon. Stir until well integrated.
The bacon is the longest, hardest part of the rest of this recpie, though, and once you've done that part it's a lot like putting together most normal chocolate chip cookies. You beat together the sugars and butter, then add the dry mix.
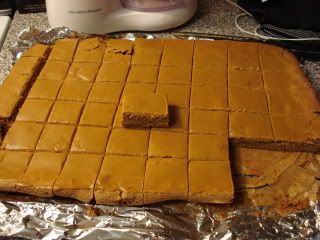
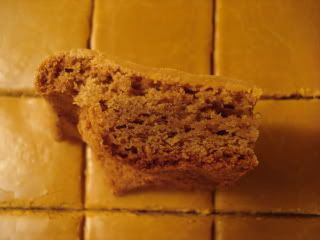
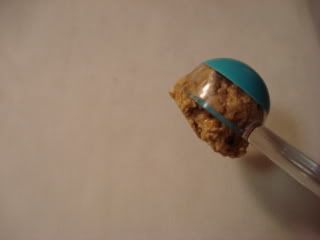
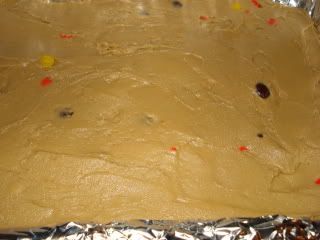
Step 2. Place dough on a sheet of wax paper and refrigerate at least 1 hour.
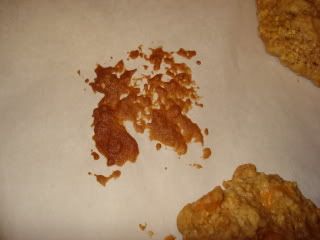
Looks good, no?
Step 2.5. Lick the beater.
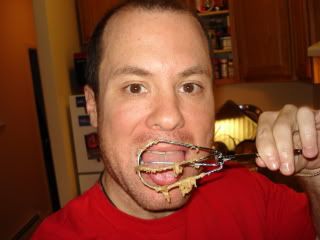
As with all good recipes, we then lick the beater.
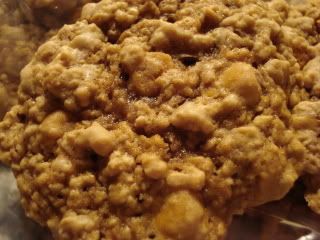
Step 3. Preheat oven to 350. Remove dough from fridge. Pinch off 1 ½ -inch pieces and roll into balls. Set dough balls about 2 inches apart on an ungreased cookie sheet. Flatten dough balls in the center slightly with your fingers. Bake about 10 minutes, or until the dough starts to turn golden brown. Allow cookies to cool on a cooling rack while you make the glaze.
After that, just lay your cookies out on a cookie sheet covered in wax paper much like you would expect to normally and cook them. Put the rest of the bacon in the fridge (you will vaguely recall something about not letting meat sit out) and proceed to make the cinnamon maple glaze.
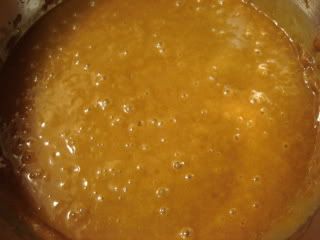
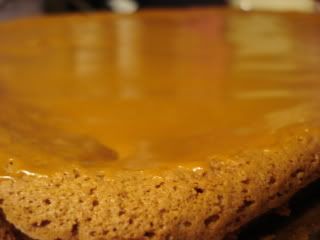
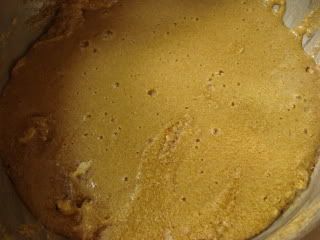
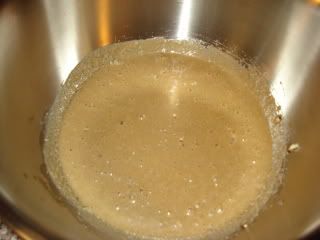
Step 4. Maple-Cinnamon Glaze: Mix 2 cups powdered sugar, 1 tablespoon maple extract, 1 teaspoon vanilla extract and ½ teaspoon cinnamon with enough water to make a thick glaze, about 3 tablespoons. Mix all ingredients together until smooth and creamy. If lumpy, use a whisk.
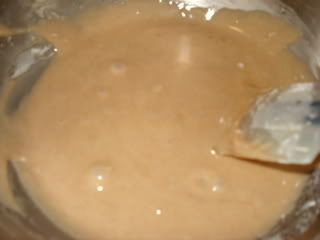
I had never heard of maple extract, and no one in any of the stores I went to had either, so I just added extra cinnamon. Everyone who ended up eating the cookies said that was the best part, and I'll be adding that to many cookies in the future.
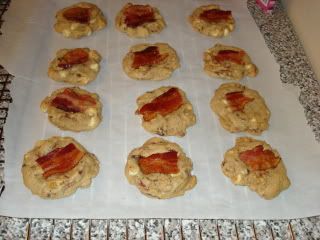
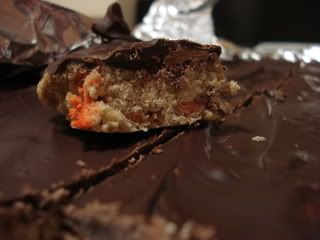
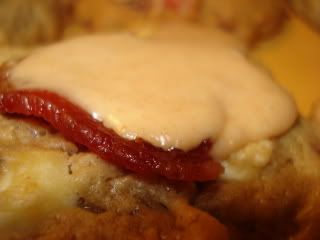
Step 5. Spread a small amount of glaze on top of each cookie and top with a small piece (1 to 1 ½ inches) of crisp bacon.
Once the cookies are out of the oven and done, put a small piece of bacon on top of each one. Resist the urge to eat all the bacon you're ripping up.
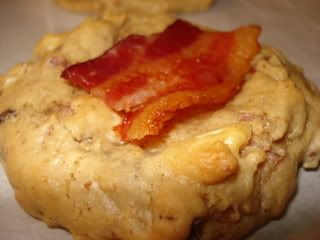
Tasty.
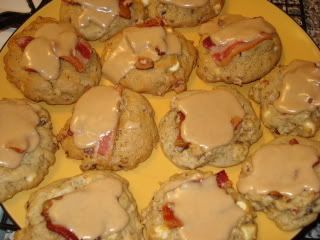
Add a little bit of the glaze to the top of the cookie and, voila! Stacking these cookies is kind of hard, but if you put them in the fridge once you're done with them you'll find the glaze thickens and hardens pretty well, so you could transport them afterwards. These are much better cookies to cook and serve, though, so I would suggest against transporting them.