Friday, January 22, 2010

Peanut Butter Brownies with Butterscotch Ganache

In case you haven't noticed, I'm on quite a butterscotch kick. Seriously, that stuff tastes fantastic. So when I saw Lisa share this receipe, I knew I had to make it.

And what better reason than it's Thursday?

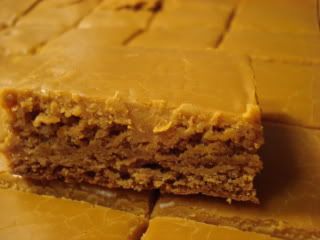
Peanut Butter Blondies with Butterscotch Ganache


Blondies:
3/4 cup peanut butter
3/4 cup salted butter, at room temperature
3/4 cup brown sugar
1/2 cup white sugar
2 eggs
1 tablespoon vanilla
1 1/2 cups flour
1 1/2 teaspoons baking powder
1/2 teaspoon baking soda

Ganache:
1 cup butterscotch chips
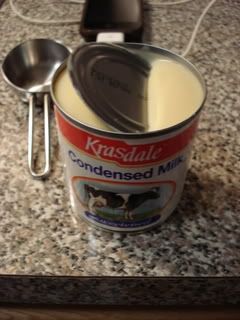
3 tablespoons cream

Note: These ingredients will get you a 9x13's pan worth of blondies. Want a jelly roll pan's worth? Double the recipe.

Step 1. Preheat oven to 325 degrees Fahrenheit. Line a 9-inch x 13-inch pan with parchment, creasing the corners so that they lie flat. Set aside.

Oh, this is totally going to be easy.

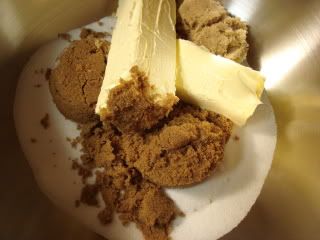
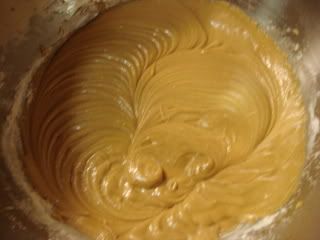
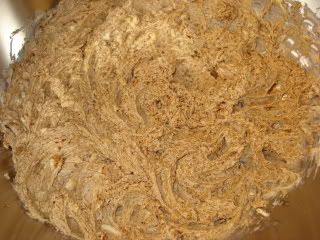
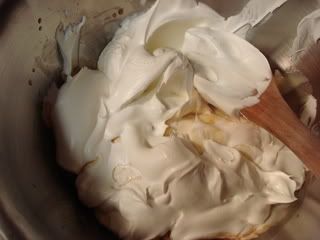
Step 2. In a large bowl, beat the peanut butter and butter until light and fluffy.


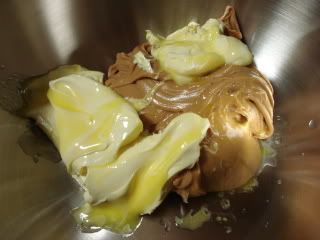
Goopy! I used smooth peanut butter. Usually I will go with crunchy peanut butter, but I don't think it would have been good with this recipe.

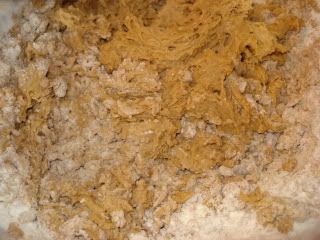
Add the sugars and whip until combined. Add the eggs and vanilla and beat until smooth.


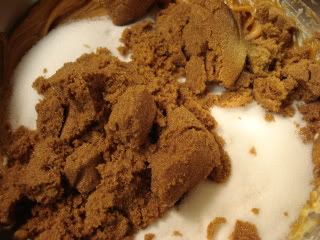
Brown sugar clumps. If you have any really solid pieces, break them up with a fork/spoon otherwise your mixer will end up throwing brown sugar clumps all over the bowl (or you).


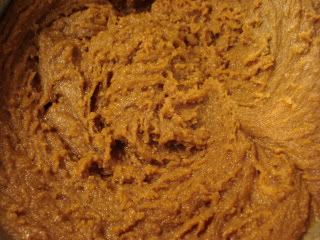
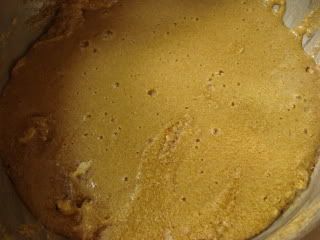
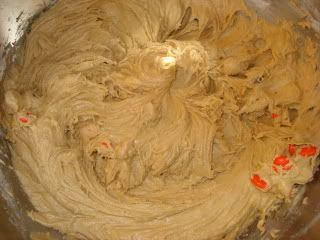
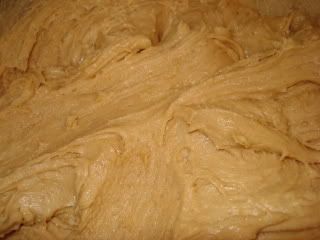
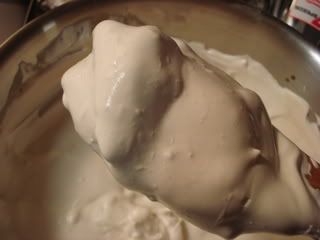
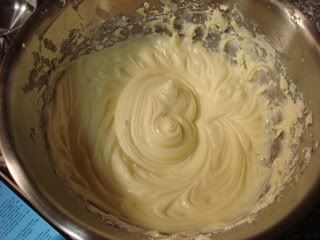
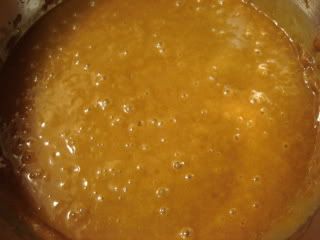
Before adding the dry mix, it will be really good looking, but not thick.


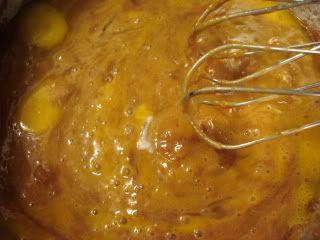
Some people might even describe it as really wet.


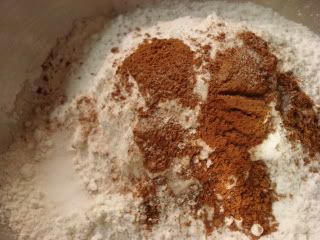
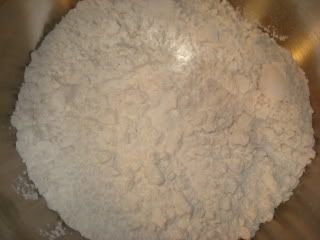
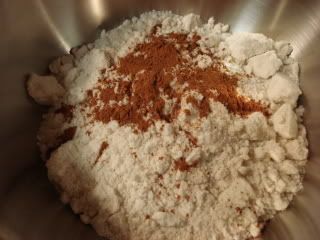
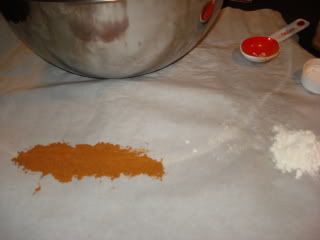
Step 3. In a small bowl, whisk together the flour, baking powder and baking soda.

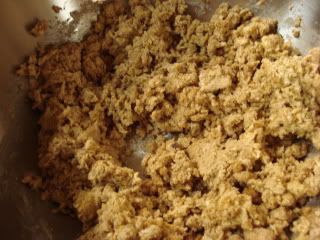
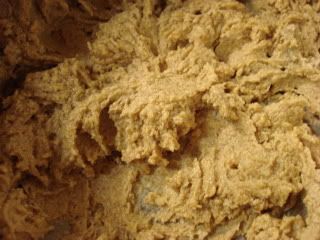
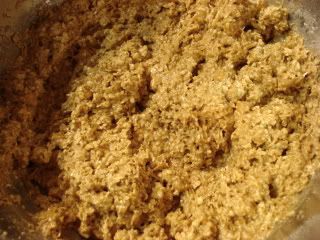
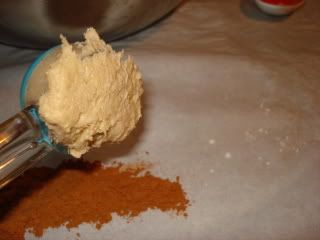
Step 4. Add the dry ingredients to the wet ingredients and mix until combined. The batter will be fairly thick.


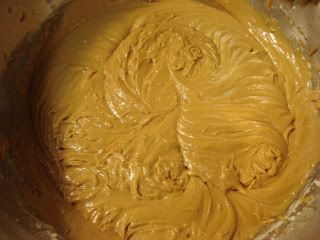
She's right, the batter will get to be very thick. You can't beat it too much, so make it a little thicker than you think you'd probably need to. Beat at low speed for a while and then speed it up to a medium speed to make sure it's effectively mixed.

One thing to note: if you don't have a dishwasher, you'll want to wash this stuff very quickly after we're done. Remember, we're working with peanut butter, so it will get crusty really quickly if you don't at least let it soak.

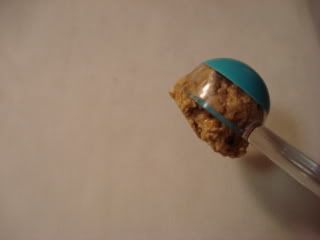
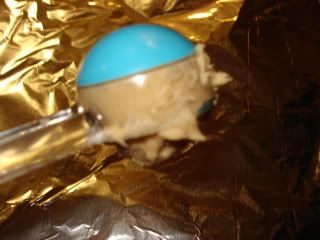
Step 4.5. Lick the beater.


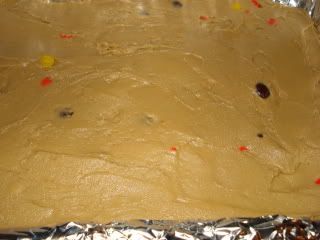
Step 5. Pour/spread the batter into the prepared pan and smooth with a spatula.


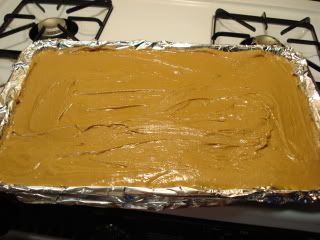
Step 6. Bake for 30-35 minutes, or until the edges begin to pull away from the sides of the pan and the centre is set but not firm. Transfer the pan to a wire rack to cool completely.

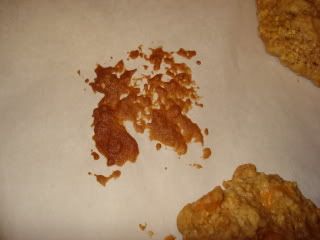
I didn't take a picture of this, but there's no real way to get it evenly done, especially if you make a jelly roll pan's worth. So, give in to the fact that your sides will be a little crispy, but better to have the middle done and the side crispy than the side good and the middle too gooey.


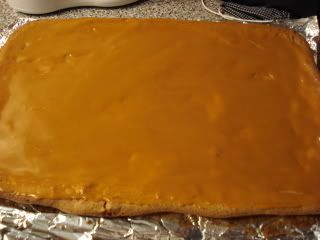
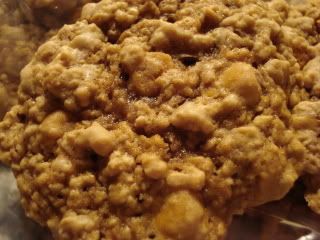
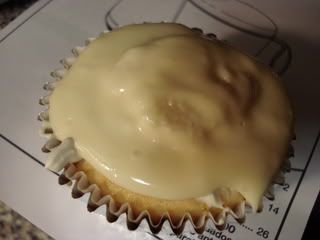
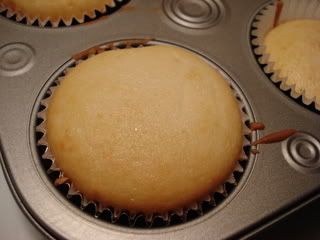
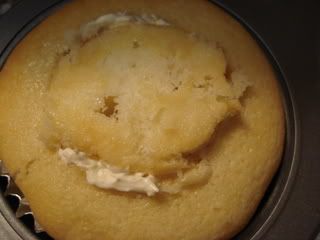
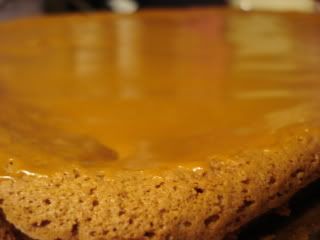
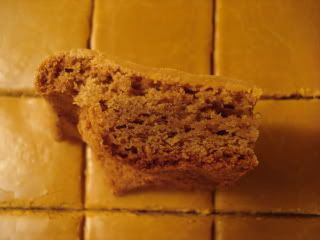
But then it comes out and looks awesome!

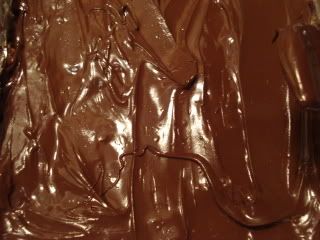
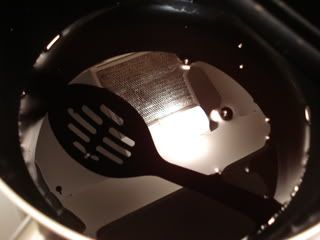
Step 7. When the blondie is cool, prepare the butterscotch ganache. In the top of a double boiler over low-medium heat, stir the butterscotch chips just until melted. Remove from heat, stir until smooth and immediately pour over the cooled blondie.


I didn't take a picture of the making of the ganache, but it's pretty easy. Don't have a double boiler? Simply put one saucepan in another saucepan (smaller into bigger) filled with boiling water. In the top saucepan, put your ingredients (cream and butterscotch chips in this case). Keep mixing but doing it this way will keep it from burning the bottom of the saucepan.

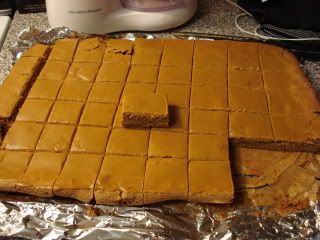
Step 8. Refrigerate until set. Cut into squares. Or diamonds. Hell, I don't care.


It makes a lot when you double the recipe, but if you have friends and people who like sweets, these will go quickly.


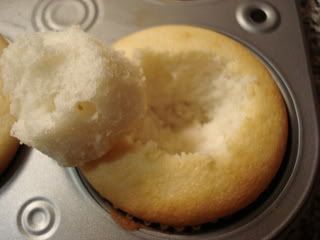
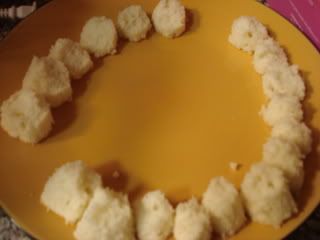
One other note: Your pieces on the end will have these little weird shelves where they cooked over the side of the pan. If these really bother you, cut them off, but they taste good to me.

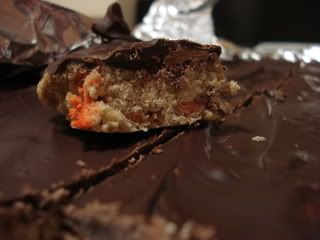
Verdict: Delicious! If I had it to do over again, I'd probably make a little extra ganache and cover it more thoroughly, but a really easy, quick recipe that many small children at birthday parties would love.

Tuesday, January 19, 2010

Oatmeal Butterscotch Cookies

I like to make things for people at my office, mostly because it means I'm not eating everything I make and because they seem to like it. But, B-Mac can't eat peanut butter (or any nut-based dessert) where a lot of folks seem to like it so, since I really don't want to kill her and keep her working on things that make my life easier, I sometimes look for non-nut recipes to make sure she can partake.

So I went out looking for a recipe that had no nuts and would incorporate things I already had in my kitchen, namely Butterscotch chips as I needed a good excuse to use them up.

Oh, and I'm on a super-strong Butterscotch kick. Seriously, this stuff is the bomb.


Oatmeal Butterscotch Cookies

Ingredients
* 3/4 cup butter, softened
* 3/4 cup white sugar
* 3/4 cup packed brown sugar
* 2 eggs
* 1 teaspoon vanilla extract
* 1 1/4 cups all-purpose flour
* 1 teaspoon baking soda
* 1/2 teaspoon ground cinnamon
* 1/2 teaspoon salt
* 3 cups rolled oats
* 1 2/3 cups butterscotch chips

Directions


1. Preheat oven to 375 degrees F (190 degrees C).

I can handle this. Totally.

2. In a large bowl beat the butter or margarine, white sugar and brown sugar together.


Put everything in the bowl and start mixing.


At first the sugar will clump, keep working it 'til it looks much smoother.


3. Add the eggs and vanilla, beating well.


You should get a very smooth mixture once you're done with this.

4. Stir together the flour, baking soda, cinnamon and salt.


First things first: I made sure to add a full tablespoon of cinammon because, like vanilla, it is an awesome spice and should be incorporated in almost-excess at just about every opportunity.

5. Gradually add the flour mixture to the butter mixture and stir until blended.

When you start mixing in the flour, do it a little bit at a time. Dump a little of the flour in, mix it, and then add more. You don't want things to get too solidified while you're still adding mix, so make it a smooth transition. Doing it in a smooth fashion means it'll be better mixed because you won't be trying to do it all at once and have so much flour in the way, but better to get it in there and mixing before you've got dough with flour leftover.


When you're done, it should look like this.

6. Stir in the oats and the butterscotch chips.


Add in the rest of the stuff and start mixing. You'll get a very lumpy mixture, which is exactly what you're looking for. The recipe called for some specific amount of chips, but figure it to be 1 bag of butterscotch chips.

7.5. Lick the beater


7. Drop by teaspoonfuls onto an ungreased cookie sheet.


If you don't have a friend like J-Dog who will get you a super-pimping cookie scooper, you firstly should get one (having people like that are über-useful and good to talk things over with) and you can secondly use a tablespoon as that will get basically the same result.

Two things to keep in mind: the recipe says that it will make 48 cookies, and though I didn't think that was at all possible considering the amount of dough the recipe generated, you could probably get that many if you made them really small. That said, I didn't do that -- mine we're fairly decent sized which left me with 36 cookies.


And secondly, don't get cocky and try and nonchalantly put the last tray of cookies in the oven, as you will most likely hit the rack and spill your cookies. Important to note: if you have a gas oven, like I do, you will want to pick up the cookies that spilled using a few paper towels and AN OVEN MITT otherwise you will absolutely burn the crap out of your hand. That said, you will also want to clean it up quickly or it will start burning and set off your fire alarm, pissing off your neighbors something fierce.

8. Bake for 8 to 10 minutes in the preheated oven, until the edges begin to brown.

Conclusion: These are awesome. Absolutely delicious. Hardest part? Not eating them all.

Monday, January 18, 2010

Lisa's Toffee Cookie Bars

The best thing about having friends who bake is that they often are at the ready when I ask "Do you have something good I can make? I'm not inspired."

And if you have a friend like Lisa, she will say "Boom goes the dynamite!"* and have one ready for you.

So, she made them recently and gave me the recipe as a great "take to work" kind of treat. She said her mom used to make them and moms make the best food, so I'm inclined to go with it.

Lisa's Mom's Toffee Cookie Bars

Toffee Bars
1c. Butter of Margerine
1c. brown sugar (light or dark, I used dark)
1tsp. vanilla
1 egg yolk
2c. flour
1/2tsp.
1 bag of chocolate chips (less or more, depending on taste)
1/2c-1c. chopped nuts (walnuts, pecans, pistachios)


Step 1. Set oven to 350 degrees. Spray or grease a 9"x13" baking dish (glass or metal) and set aside.

I figured no one needed a picture of this. Though, that said, I always line with tin foil to make cleanup easier, because though I like to bake, I'm lazy at heart and I don't have a dishwasher.

Step 1. Combine the flour and salt in small bowl, set aside.


Ok, this is the fairly easy part. I can do this. A w(h)isk works best.

Step 2. In a larger bowl, mix the butter, sugar and vanilla until creamy. Add egg yolk, mix well.


At first your mixture will look pretty good when you've beaten it into submission.


But once you add the egg and vanilla, it will get runny so mix for a while 'til it firms up. Also, I always, always suggest adding a little more vanilla than is listed in the mixture. I know, I know, baking and science and exactness and all but vanilla is awesome and should be highlighted in all recipes.

Step 3. Add flour mixture until fully combined.


Lisa's instructions say: At first, the dough is really crumbly, and she is correct.


but turn up the speed on the mixer and it will get more thick/heavy. and she is again, also, correct.

I also added some Reese's Pieces because a) they're awesome, b) I don't use nuts in my desserts and c) I didn't want to eat them straight out of the bag.

Step. 3.5. Lick the beater.


Step 4. Press dough evenly into pan and bake for about 20-25 min.


You don't want the dough to be browned, but lightly tan when it comes out.

Step 5. Pour chips on dough and spread melted chips with knife or spatula.


I used to think this part, which, once you've cooled it gives it the hard chocolate shell, was really impressive and hard to do. [Lee Corso]: Not so fast my friend. [/Lee Corso]

When you first take the pan out of the oven, pour the bag of chips on top straight away. The heat from the cookie bars will melt the chocolate and allow you to spread it evenly over the top. Last time I tried to do this I melted the chocolate first, which is completely unnecessary; this way works just as well.

After that, just let it cool and cut into whatever size bar you choose. Store in airtight container. Will last for a week ... depending on how many cookie monsters live in your house.

Conclusion: Pretty good, but I found them to be a little flour-y which might mean that I didn't measure the flour well enough, or that it might have only needed 1 3/4 cups of flour or such. I'd probably also add some peanut butter or caramel (and cinnamon) if I were to do them again.

* - May not exactly be what she said.

Tuesday, January 12, 2010

Cinnaspin Cookies

A couple of days ago, I scoffed to friends that anyone who made something out of a mix was cheating, let alone ineligible to win an award. After trying tonight's cookies, I've amended that to say that anyone who could make this recipe is by far a better baker than I.

According to the Betty Crocker website (recipe: at the official Betty Crocker site »), this 2008 award-winning recipe should have been a snap to make.

So, let's see what we have here.

Ingredients:
Cookies
1 pouch (1 lb 1.5 oz) Betty Crocker® sugar cookie mix
1/2 teaspoon ground cinnamon
1/2 cup butter or margarine, softened
1 egg, slightly beaten
1 tablespoon ground cinnamon

Glaze
1 cup powdered sugar
2 tablespoons milk
1/4 teaspoon vanilla

Step 1. Heat oven to 375°F. In large bowl, mix cookie mix and 1/2 teaspoon cinnamon. Stir in butter and egg until soft dough forms.

Ok, this should be the easy part, right?


Ok, we've got the mix and the cinnamon in there. I was making a double batch, so I put two packs and twice the cinnamon in there.


Wisk it together and everything's looking good so far.


In order to make things easier, I measure out five inches and mark it off on the wax paper.


Roll out my cinnamon and a little flour to make rolling it easier.


I use my scoop that J-dog got me to get the perfect amount of mix and ... nothing. I can't get the dough out of the scoop, I can't use my hands to pick it out of the bowl and even when I do get it out, it just mushes in my hand; there's no rolling of the dough at all.

So I added another quarter cup of flour hoping to dry it out a little. This is what I got:


Looks good, right? No luck. It was impossible to even scoop it out for basic cookies, let alone following the recipe as instructed.

I probably could have put it in the fridge and maybe it would have solidified a little, but I didn't think about that until I had thrown it out.

Anyone know what I did wrong?

Sunday, January 10, 2010

Tiramisu Cupcakes

I've gotten so into the baking thing that when relatively major life cycle events come around on the calendar, I start to think about what I can make for it. Is that weird? Probably. Whatever, though, I'm having fun.

When my friend Erica let me know she'd be having her birthday shenanigans at a bar near us (my favorite bar in Brooklyn, the Black Horse Pub -- you seriously should go) it was as if the fates aligned. Not only did I get to make something, but the owners of the bar have been tipped off to my baking and love when I bring in food, as long as they get to taste everything (I brought them a plate of the peanut butter cup brownies I made earlier in the weekend just to make sure they continue liking me). So I asked our mutual friend, Annie, what Erica's favorite dessert is.

Turns out she loves tiramisu.

I have no idea how to make tiramisu.

So I went surfing the web for various options. I didn't want to make straight tiramisu, as that seemed kind of boring and though this looked interesting and delicious, I've never made a cake before and getting it to/from the bar seemed difficult. Plus, there's plates and knives and forks and that just seemed more effort than it was worth.

But what's almost like cake but easier to transport? Cupcakes! I'd highly recommend getting an official cupcake transport device but they're still far easier to transport and serve than a cake. I added shaved chocolate on top after I was done -- I highly suggest doing that it as it makes them look much more finished but I forgot to take a picture of that, so here's the almost-finished product.

Finished cupcake

Recipe (from Recipezaar.com):

Ingredients

Cupcakes
o 1 (18 1/4 ounce) package white cake mix
o 3 eggs
o 1/3 cup oil
o water (don't forget this part -- it's on the box)

Liquid Coffee Layer
o 2/3 cup water, boiling
o 1/2 cup confectioners' sugar
o 1 1/2 tablespoons instant coffee

Mascarpone Filling
o 1 cup mascarpone cheese (from tub)
o 3 tablespoons Kahlua (or coffee extract)
o 1/4 cup sweetened condensed milk
o 1 (8 ounce) container french vanilla cool whip

Frosting
o 1 (8 ounce) package cream cheese, softened
o 1/2 cup butter, softened
o 2 cups confectioners' sugar
o 1 teaspoon vanilla extract
o chocolate shavings (to garnish)

Directions

1. Make mascarpone filling mix first & allow to chill 4-6 hours or overnight.

When you're making this, I highly suggest finding mascarpone cheese, as I used cream cheese and found it to be good, but not as authentic as mascarpone would have been.

Here's what sweet condensed milk looks like.

Condensed milk

You'll barely use any of this, so make sure to save it when you're done in a tuperware.

2. Mascarpone filling: Beat mascarpone, Kahlua and condensed milk until well blended. Fold in cool whip. Chill 4-6 hours.

All of the ingredients for the filling together

I forgot to mix the cream cheese, milk and Kahlua before I put the whip cream in, but I don't think that proved to be any sort of major issue. Since everything seems to be the same color, make sure you get rid of the chunks before you finish.

One note: make sure not to lick the spoon with the whip cream on it until you're really sure you're done mixing things. It's hard. I know.

Make sure to get rid of the chunks of cream cheese

3. Prepare cupcakes as directed on box of white cake mix & bake accordingly. While these are baking prepare the liquid coffee as below.

Here's where bakers assume you know what you're doing -- I had no idea how much batter to add to each cupcake tin. I found that putting three tablespoons in each wrapper in its mixed state gave me cupcakes to about the top of the wrapper when it was done.

Finished cupcakes

Your cupcakes should like the above when you're done. Let them be slightly browned before removing, even if you have to leave it in a little longer than the box says.

4. Liquid Coffee: Boil 2/3 cup water in microwave (or boil on stove) and stir in instant coffee then powdered sugar & allow to cool to tepid. Once cooled, use a fork to poke holes into cupcakes so that they will absorb the liquid cofee & then brush liquid coffee onto each cupcake using silicone baking brush. Chef's suggestion: She usually makes 3 fork piercings across top but since I was cutting out the top to put the filling in, and I don't have a brush, it wasn't a big deal.

Looks like coffee, no?

5. Fill pastry/icing bag with mascarpone filling & inject about 1 spoonful via bag directly into top-center of each cupcake.

Ok, so I didn't have a pastry/icing bag and didn't really have any desire to buy one for just one recipe, so here's what I did.

First, I cut out a hole in each cupcake.

Cutting out a hole

Then I put them aside, carefully remembering which top went with which cupcake.

Cupcake holes

I then poured about two tablespoons of the coffee mixture into each cupcake, trying to coat as much as possible while I did so. I can see where the brush would have been handy, but this seemed to work effectively.

Coffee inside

After I had put coffee mix in each of the cupcakes, I added the 'mascarpone' filling to each cupcake.

Fill it up

After that, all there was to do was put the tops back on. On the ones I added less mixture to, I didn't cut off the bottom of the top. But if you don't want the guts to ooze out all over the place, you can cut off all but the very top and place it over. Doesn't really matter. No one's going to see that part once you're done.

Almost done

6. Prepare Cream Cheese Buttercream Frosting: Beat butter and cream cheese until creamy with hand mixer on low. Slowly add powdered sugar, scraping down the sides of the bowl as necessary. Add vanilla and increase mixer to medium. Blend until frosting is fluffy.

So, I blended this all together for a long time on low and got this:

Filling

That doesn't look right -- way too watery. So I upped the speed to almost high and got teh following.

Filling

That looked closer to correct, though it's by no means light and fluffy. Apparently they're definition and mine varied here, but it tasted correct so I went with it.

7. Frost each cupcake with frosting & garnish with chocolate shavings (use dark chocolate bar & cheese grater).

Frosting turned out to be harder than I expected because the topping wasn't moving at all once I put it on each cupcake, which is odd. I thought I would be able to spread it around to get full coverage but one dollop (or enough to cover the hole I'd made) just sort of sat in the center. This seems like an area where a brush would have been really useful; I'm going to have to add one of those to my list of things to buy.

These took a long time, and were really not as easy as the recipe would make it seem, but they weren't 'hard' by any stretch of the imagination and people really seemed to love them. I'd give them 3.5 out of 5 stars.